Introduction
Following a question from Stefan Stranger, it seems there is not a lot of documentation on the subject. The goal here will be to simply enable OAUth on top of an app service plan with easy auth (you can do custom as well if you prefer). I’m far to be a guru with Az functions (it’s in my to do list), if I say something stupid, just give me a feedback on Twitter I don’t bite. To do this, you will need at least GA/App admin or cloud App admin role because we will need a new app registration.
Demo
I won’t document this part, but to play with a function, you need …. A function … I will assume that if you’re here, you’re not a beginner and you should know what you’re doing. So once we’ve create our RG and our function app, let’s start by running few commands to make sure everything is fine.
Here our function app:
1
2
3
4
5
6
7
8
9
10
11
12
13
14
15

using namespace System.Net

# Input bindings are passed in via param block.
param($Request, $TriggerMetadata)

# Interact with query parameters or the body of the request.
$name = $Request.Query.Name
$body = "Hello, $name. This HTTP triggered function executed successfully."
# Associate values to output bindings by calling 'Push-OutputBinding'.
Push-OutputBinding -Name Response -Value ([HttpResponseContext]@{
    StatusCode = [HttpStatusCode]::OK
    Body = $body
})
Just provide a parameter name in the query string and we should be good to go
1
2
3
4
# Here you can use anonymous if you prefer
$Uri = "https://testfuncaadfanf.azurewebsites.net/api/httpNoRole?code=EpogLPlkqeSiVlOOvQ73fAnHSfLC8ZSMMz4KrRpEcckNvgxCf/81fw==&name=fanf" #Not a real URL
Invoke-RestMethod -Uri $URI
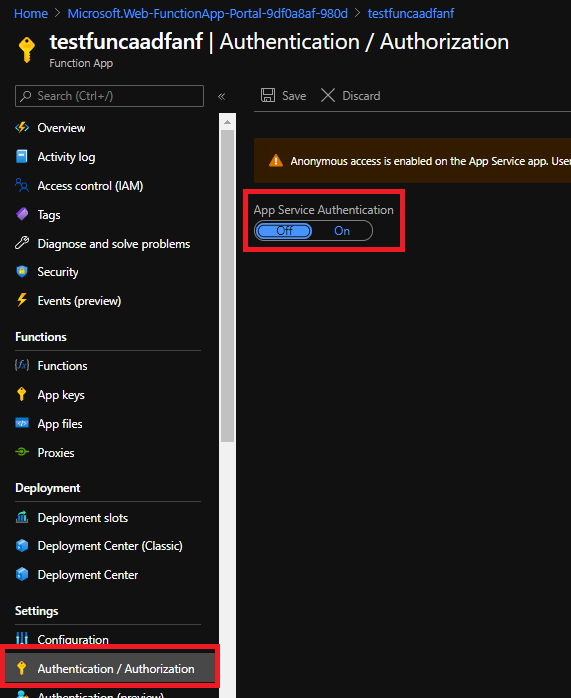
And you should receive: Hello, fanf. This HTTP triggered function executed successfully. Cool it’s working, let’s now enable easy auth. Go in the function app tile, and click on Authentication/Authorization and then select On to the App Service Authentication button.
Now make sure to redirect all anonymous requests to AAD:
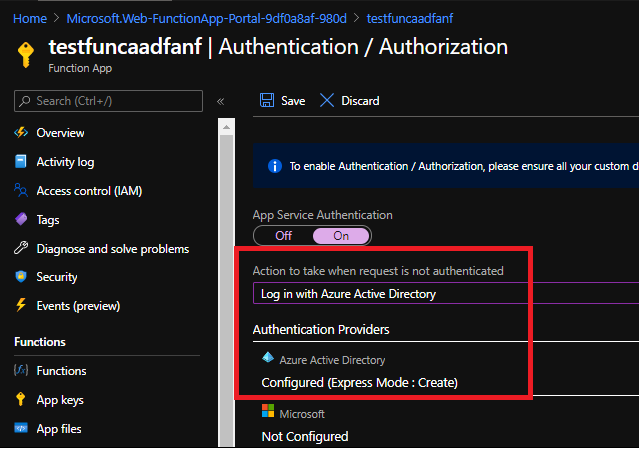
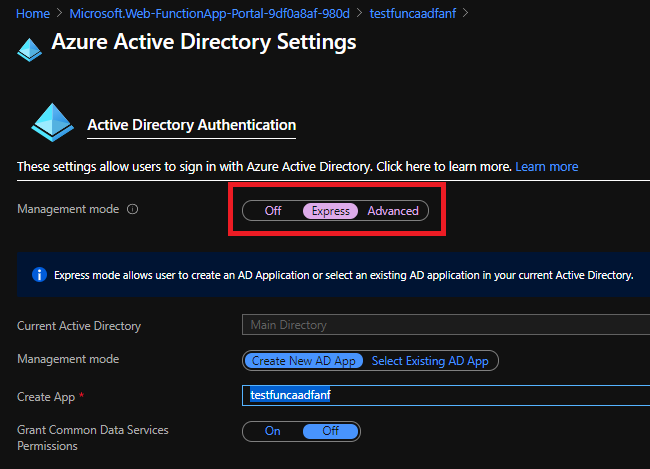
And select the express configuration (This is where you need GA/App admin rights)
At this point, if you now retry the previous script, you will receive a 401 unauthorized because for now, requests have to be authenticated!
Now we should have a new app registration / Enterprise app populated in our tenant. Let’s tweak the app registration first because we have work to do:
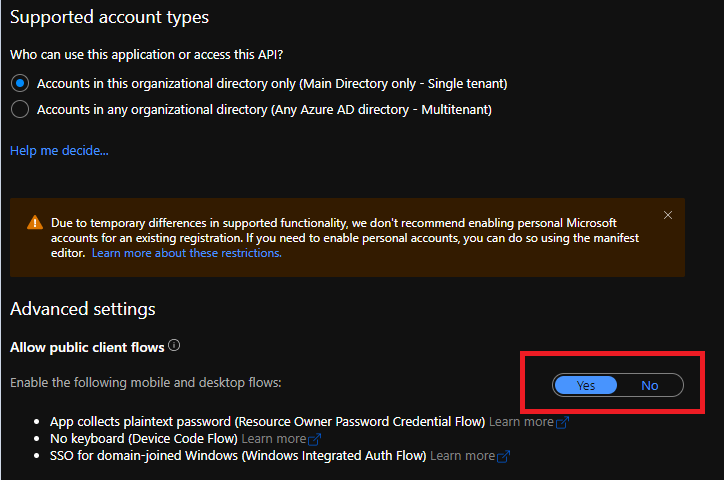
- Under the Authentication menu, make sure:
- The redirect URI is populated (Part of the easy auth configuration).
- The implicit flow is “disabled”. At least for our tests, we won’t need it.
- Public app is selected. Doing this, you won’t have to provide secrets.
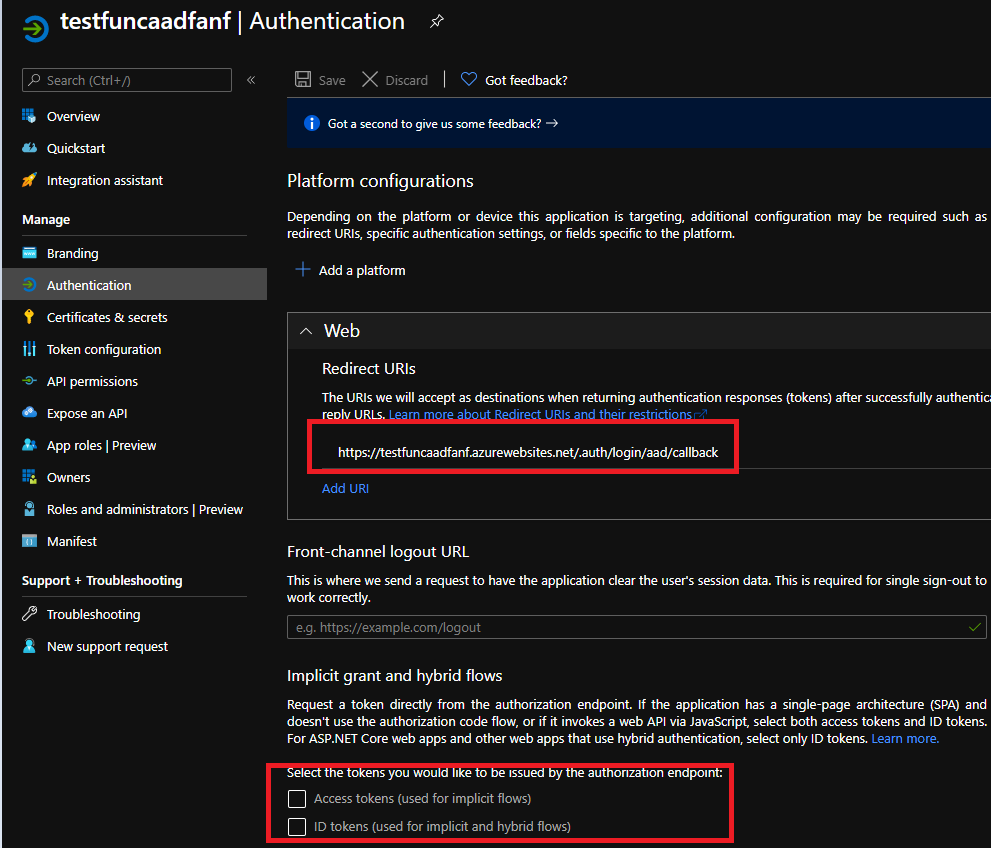
and in the bottom of the same page, you should see:
Under certificates and secrets, you can remove the auto populated secret. Here, we will use a public app, we won’t need any secrets.
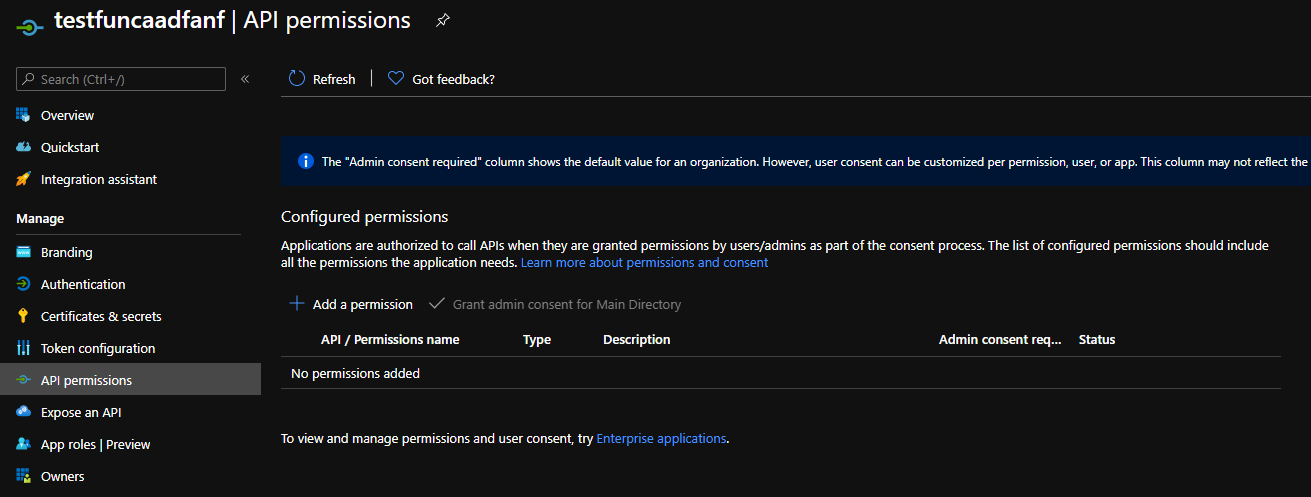
Under api permissions, you can remove every scope. Here we just want to validate the user (Id Token).
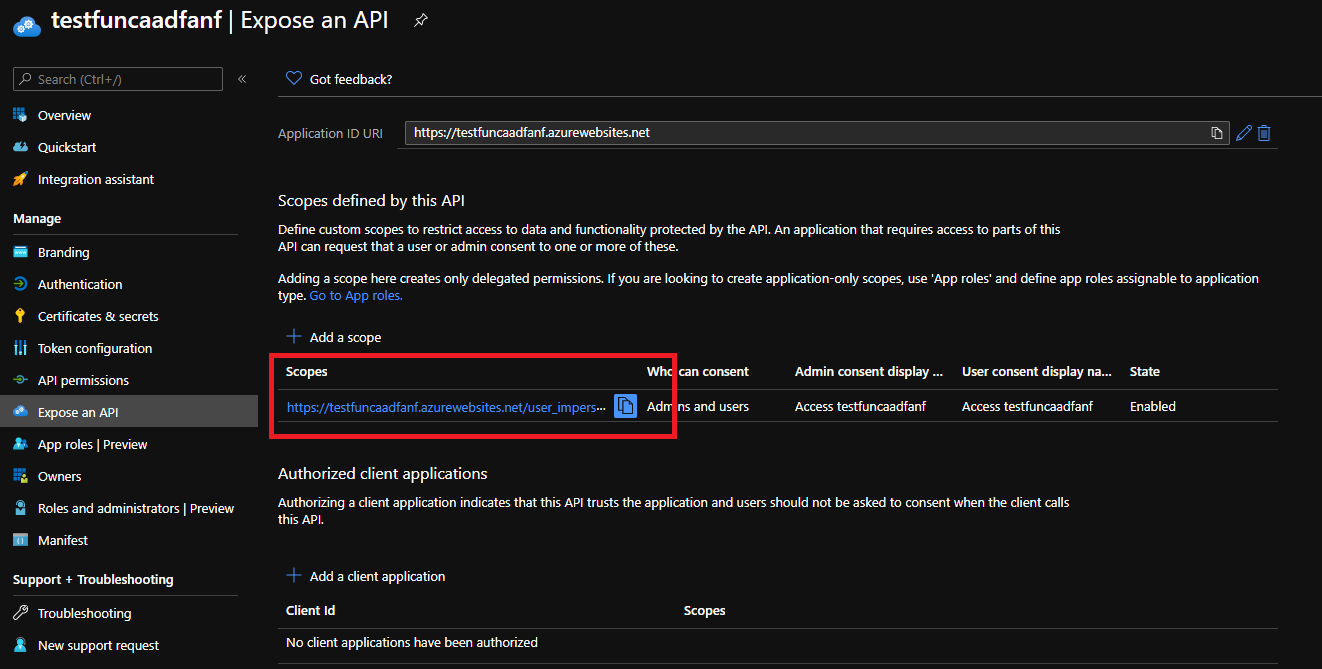
- Under expose an API, make sure you have a user_impersonation scope. Required to use delegated permission.
Now that our app registration is configured, let’s play ! Let’s generate a token with a public application flow. Here we will choose the devicecode one but if you prefer, you can use the authorization code instead.
1
2
3
4
5
6
7
8
9
10
11
12
13
14
15
16
17
$clientId = <Your AppId generated by easy auth>
$TenantId = <Your tenant Id>
$Scopes = "https://testfuncaadfanf.azurewebsites.net/user_impersonation" # This is the URI you have into the expose an API menu in the app registration

#Our previous function call uri
$Uri = "https://testfuncaadfanf.azurewebsites.net/api/httpNoRole?code=EpogLPlkqeSiVlOOvQ73fAnHSfLC8ZSMMz4KrRpEcckNvgxCf/81fw==&name=fanf" #Not a real URL
# Generate interractive device code flow where with impersonation scope (on behalf of user)
$token = Get-MsalToken -ClientId $clientId -TenantId $TenantId -Scopes  $scopes -DeviceCode
#Generate headers
$Headers = @{
    'Authorization' = $("Bearer " + $token.AccessToken)
    "Content-Type"  = 'application/json'
 }

#Invoke the function with the header
Invoke-RestMethod -Uri $URI -Headers $Headers
And you should see: Hello, fanf. This HTTP triggered function executed successfully instead of the previous 401. Now every local tenant users (normal or guest) can execute this function. Now, go in the Enterprise app to manage our application!
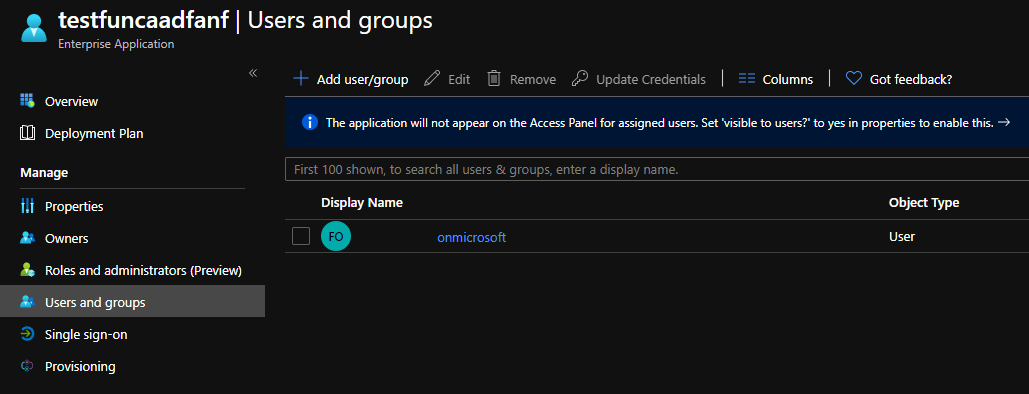
Once in the Enterprise app, select properties and enable User assignment required?
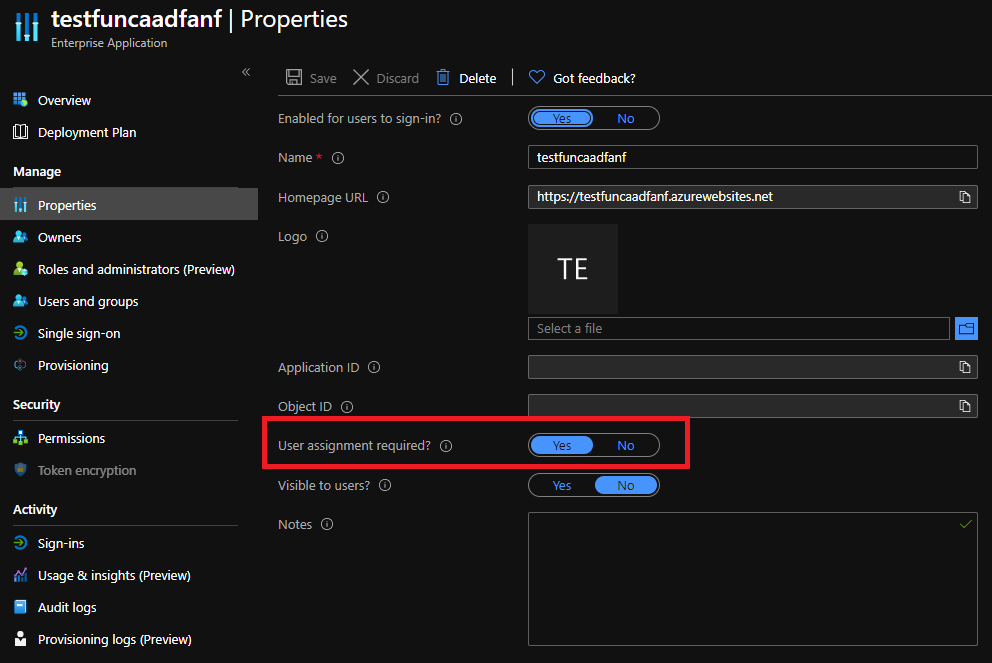
Then under users and groups, select the users allowed to execute this function.
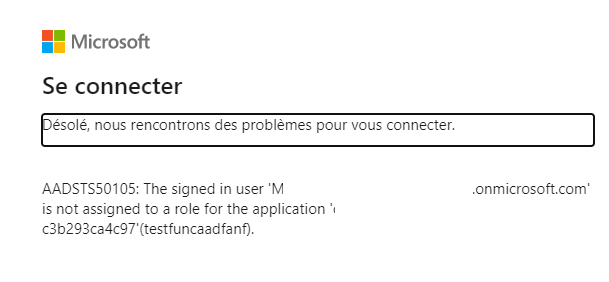
Now you can try with 2 different accounts and you will see that unallowed user will receive (sorry it’s in French, but long story short get out :p):
Conclusion
As we’ve seen, the easy auth path is maybe not the good option because it generates unnecessary things, but it’s quicker. Starting today, I will do the advanced instead and tweak everything myself. I hope you’ve enjoyed this article, see you in the next one.